Create an OData service with Node.js, SQLite, Thunder Client by using CAP with VS Code
In this exercise I am following the tutorial from developers.sap.com. Following this SAP developer tutorial, you will learn more useful things in this blog about the app development with SQLite and Thunder Client (like Postman). I recommend using this .devcontainer and you won't have to install any additional programs. If you have questions for setting up a DevContainer, you can follow all the steps already explained in this documentation VS Code Dev Container for SAP HANA App development.
Preparations
- Use this .devcontainer and no additional installations are necessary for this exercise!
Kick off development
Follow the instruction from the referenced tutorial.
Step 1: Set up local development environment
Step 2: Install Visual Studio Code Dev Container
Use the VS Code Dev Container as mentioned above.
Step 3: Start project
node ➜ /workspaces/my-bookshop (master ✗)
$ npm i
2
If you like, check for updates and update the package.json.
node ➜ /workspaces/my-bookshop (master ✗)
$ npm install -g npm-check-updates
$ ncu -u
output looks like: @sap/cds  ^5.5.4  →  ^5.5.5
2
3
4
Install your npms again, if necessary.
node ➜ /workspaces/my-bookshop (master ✗)
$ npm i
$ npm audit fix
2
3
Start watching you changes.
node ➜ /workspaces/my-bookshop (master ✗)
$ cds watch
2
Step 4: Define your first service --> Step 8: Add persistent database
Follow alle the steps from 4 to 8 of the tutorial.
After you have finished all the steps from the tutorial, comes the nice interesting part about SQLite. To make the work and steps with SQLite more easy I took some pictures.
Click "F1" and search for "SQLite: Open Database" and look for your bookshop.db.

Then open the "SQLITE EXPLORER" on the side bar.
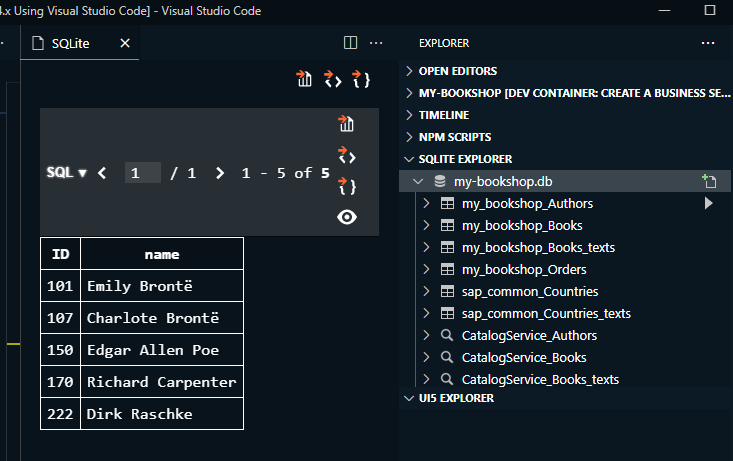
Select the tables.
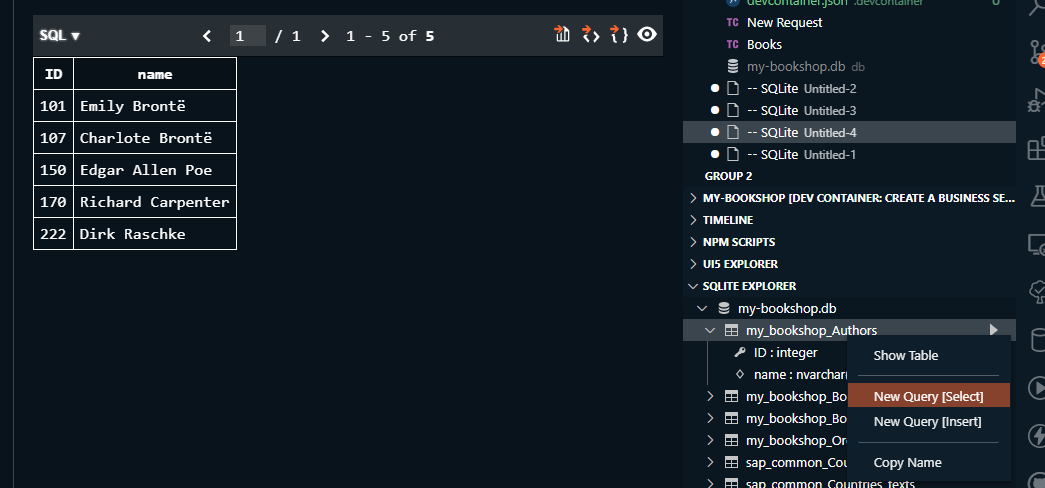
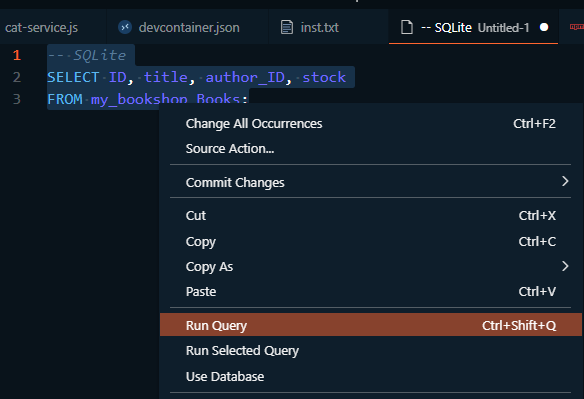
Execute the Select statement by marking the sql statement and clicking "Run Query"
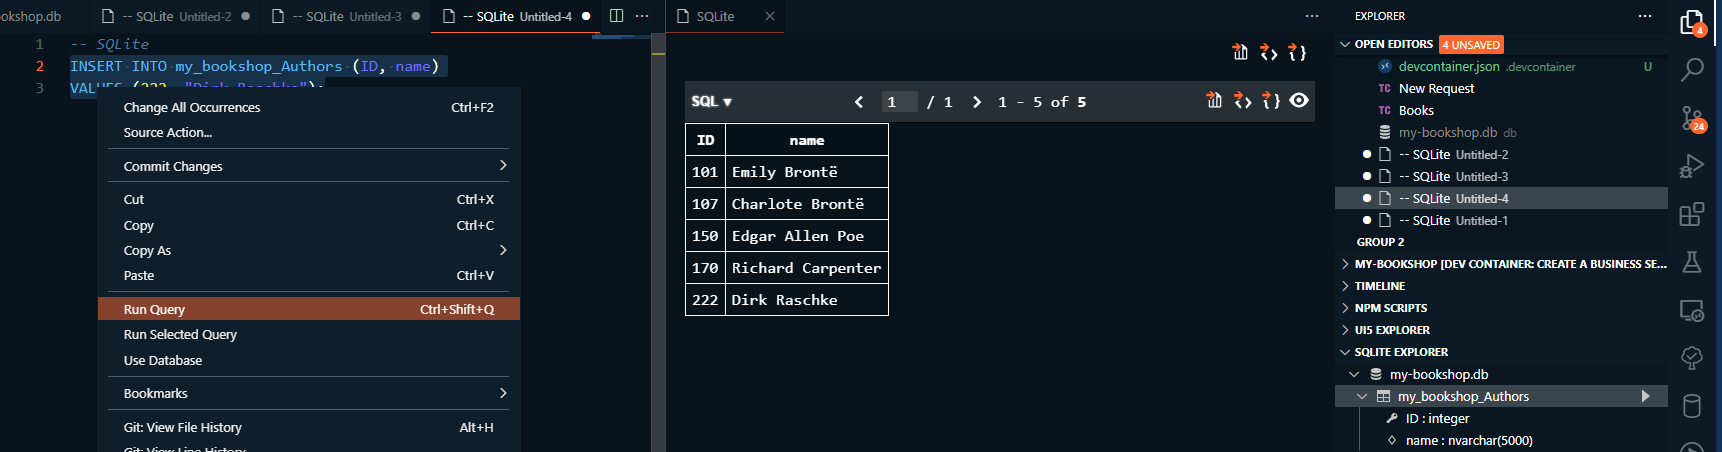
Insert records in the tables.
Step 9: Test generic handlers with Thunder Client and not Postman
Now comes the next useful part. We don't have to leave VS Code. Instead of Postman we'll use the already installed Thunder Client extension. (if you use the recommended .devcontainer)
Open Thunder Client by clicking the "F1" button and search for "View: Show Thunder Client" or use the lightning icon on the side (Activity Bar).
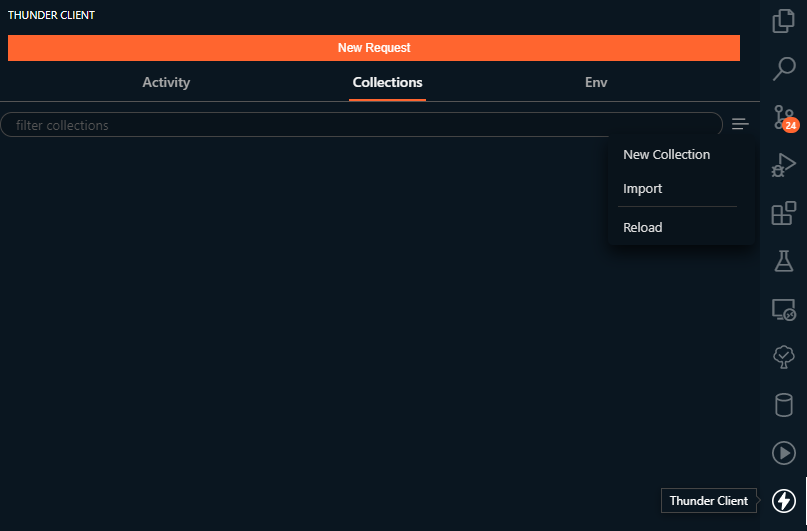
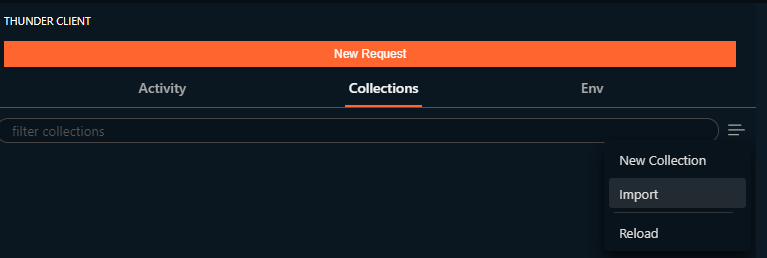
Import your postman.json file here:
Execute the requests
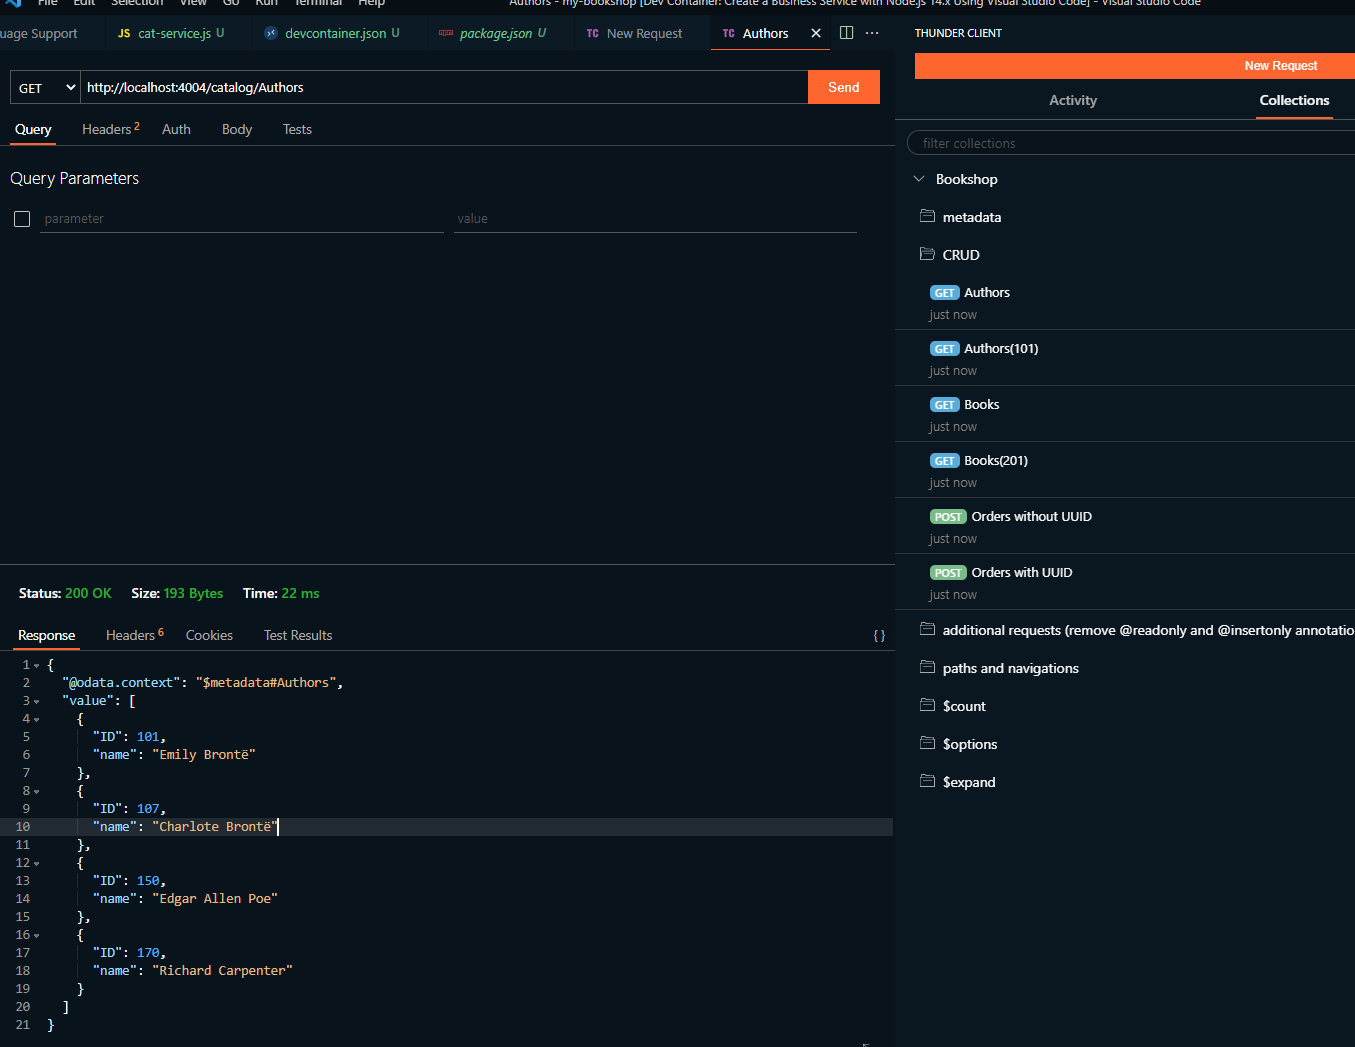
Now you can debug and test your app without leaving VS Code.
